One Sided Borders in Figma
One feature I’d love to see in Figma is the ability to add a border (or stroke) to just one side of a rectangle. Currently strokes apply to the whole shape and so do any customisations. This is a shame since a border on a single edge can easily be achieved in CSS with declarations like border-bottom and border-left.
In the meantime, using the “inner shadow” effect can create the appearance of a solid border on only one side of a shape. This is how.

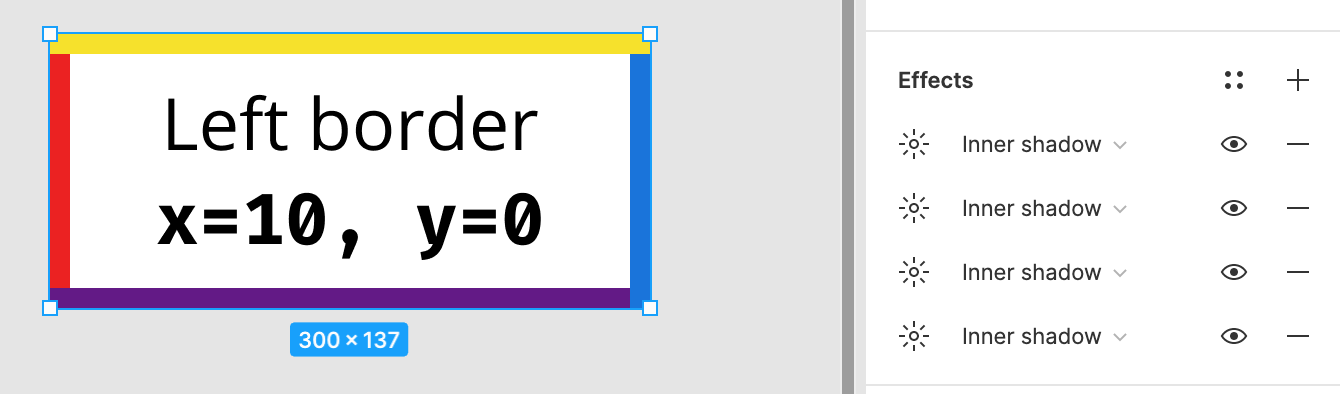
- Select your rectangle layer and add a new effect from the Effects section in the right-hand sidebar
- This will be a “Drop shadow” by default. Change it to “Inner shadow” from the dropdown menu
- Enter the Effect Settings menu by clicking the sun icon to the left of “Inner shadow”
- Change the “blur” value to 0
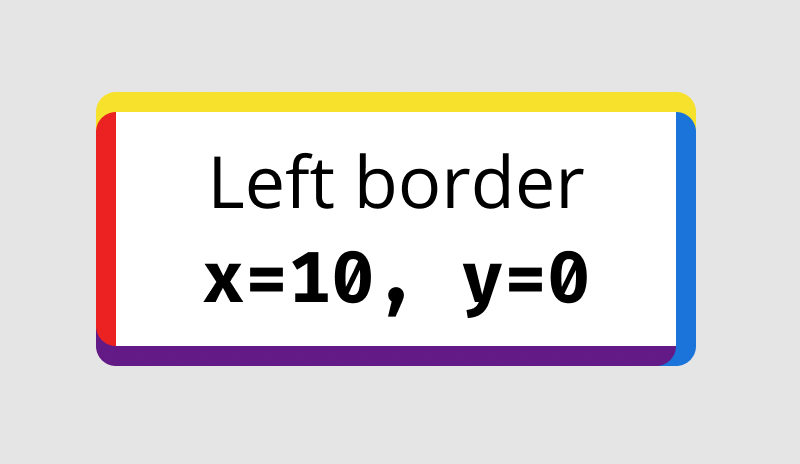
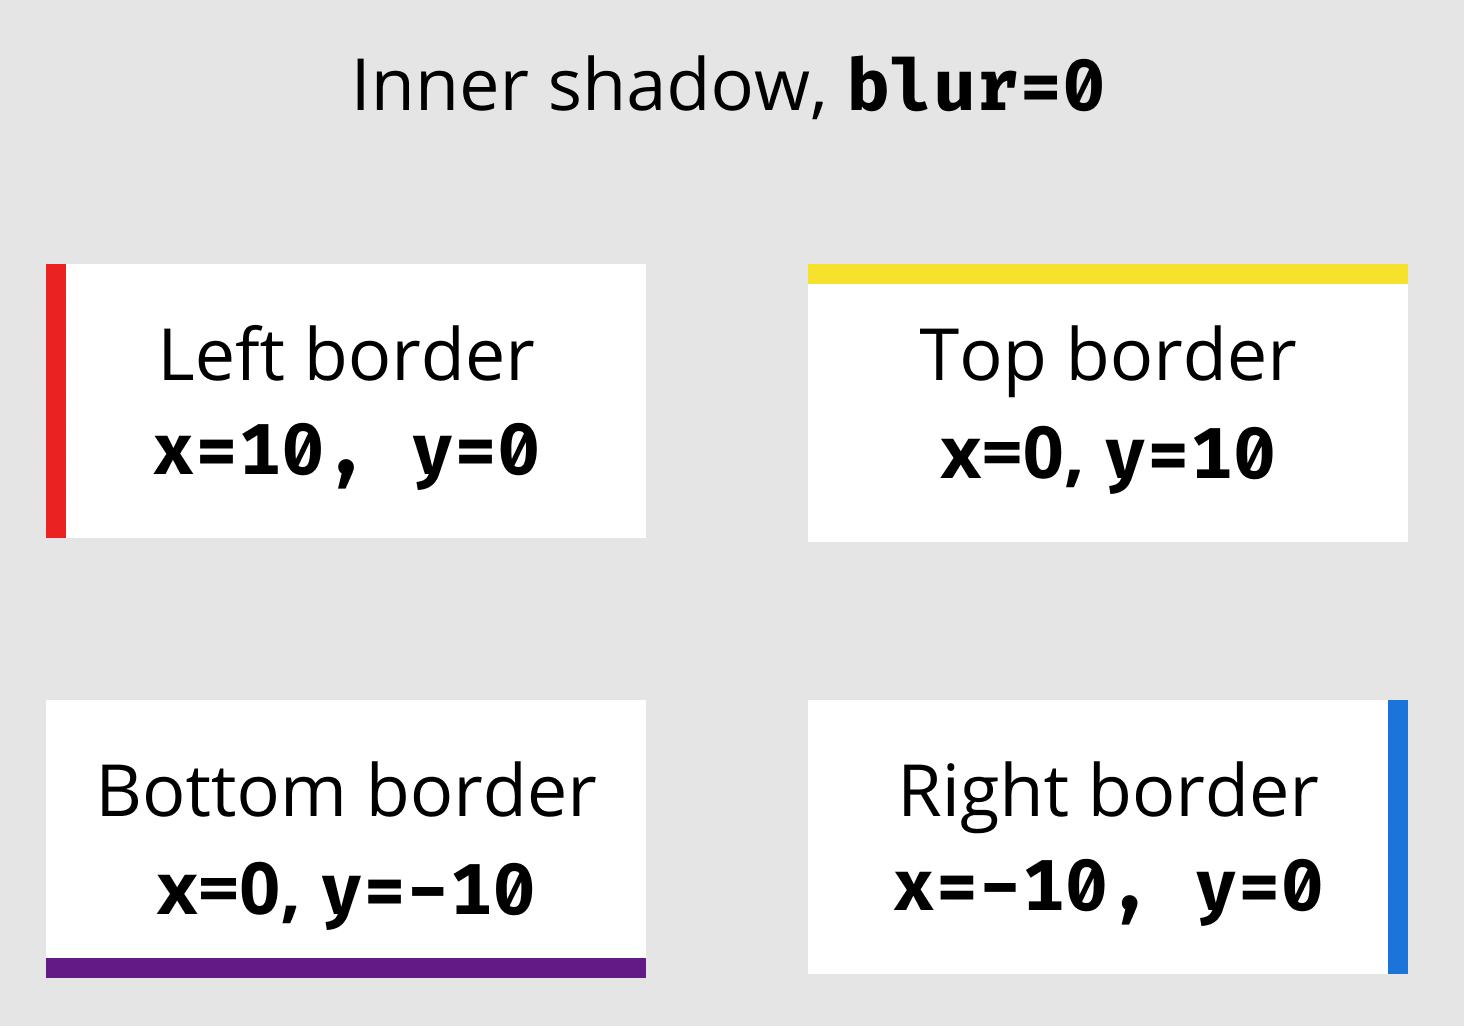
- Change the x and y values depending on the side you want the border to appear:
| Side | x | y |
|---|---|---|
| Left | 1 | 0 |
| Top | 0 | 1 |
| Right | -1 | 0 |
| Bottom | 0 | -1 |
The number value will match the width of the border. So for a border width of 10, change the number 1 or -1 to 10 or -10.
Finally change the colour to 100% opacity or whatever your design requires and you have a solid single border.
If your design requires another border on a different side of the shape, add a separate “Inner shadow” on the same shape.
A drawback of this method is that the style of the border can’t be customised: it must be straight and can’t be dashed. However you can apply a border-radius to the shape and this will be reflected in the shadow effect.