Making the Alt Key Work in iTerm2
iTerm2 is a replacement for the default Terminal application on MacOS. It has many more handy features than Terminal , is free to download and is also open source 🎉.
However, on first install, you can’t use the Option or Alt key (this key: ⌥) as you would in other applications: you can’t skip or jump over words by pressing Alt and the left or right keys. Instead you see sequences like [D or [C:

With a little config, you can change this behaviour, which I’ll explain below.
Note: I refer to the “Alt” key throughout this post, which is the text written on my old 2013 MacBook Pro keyboard, but this is normally called the “Option” key in MacOS.
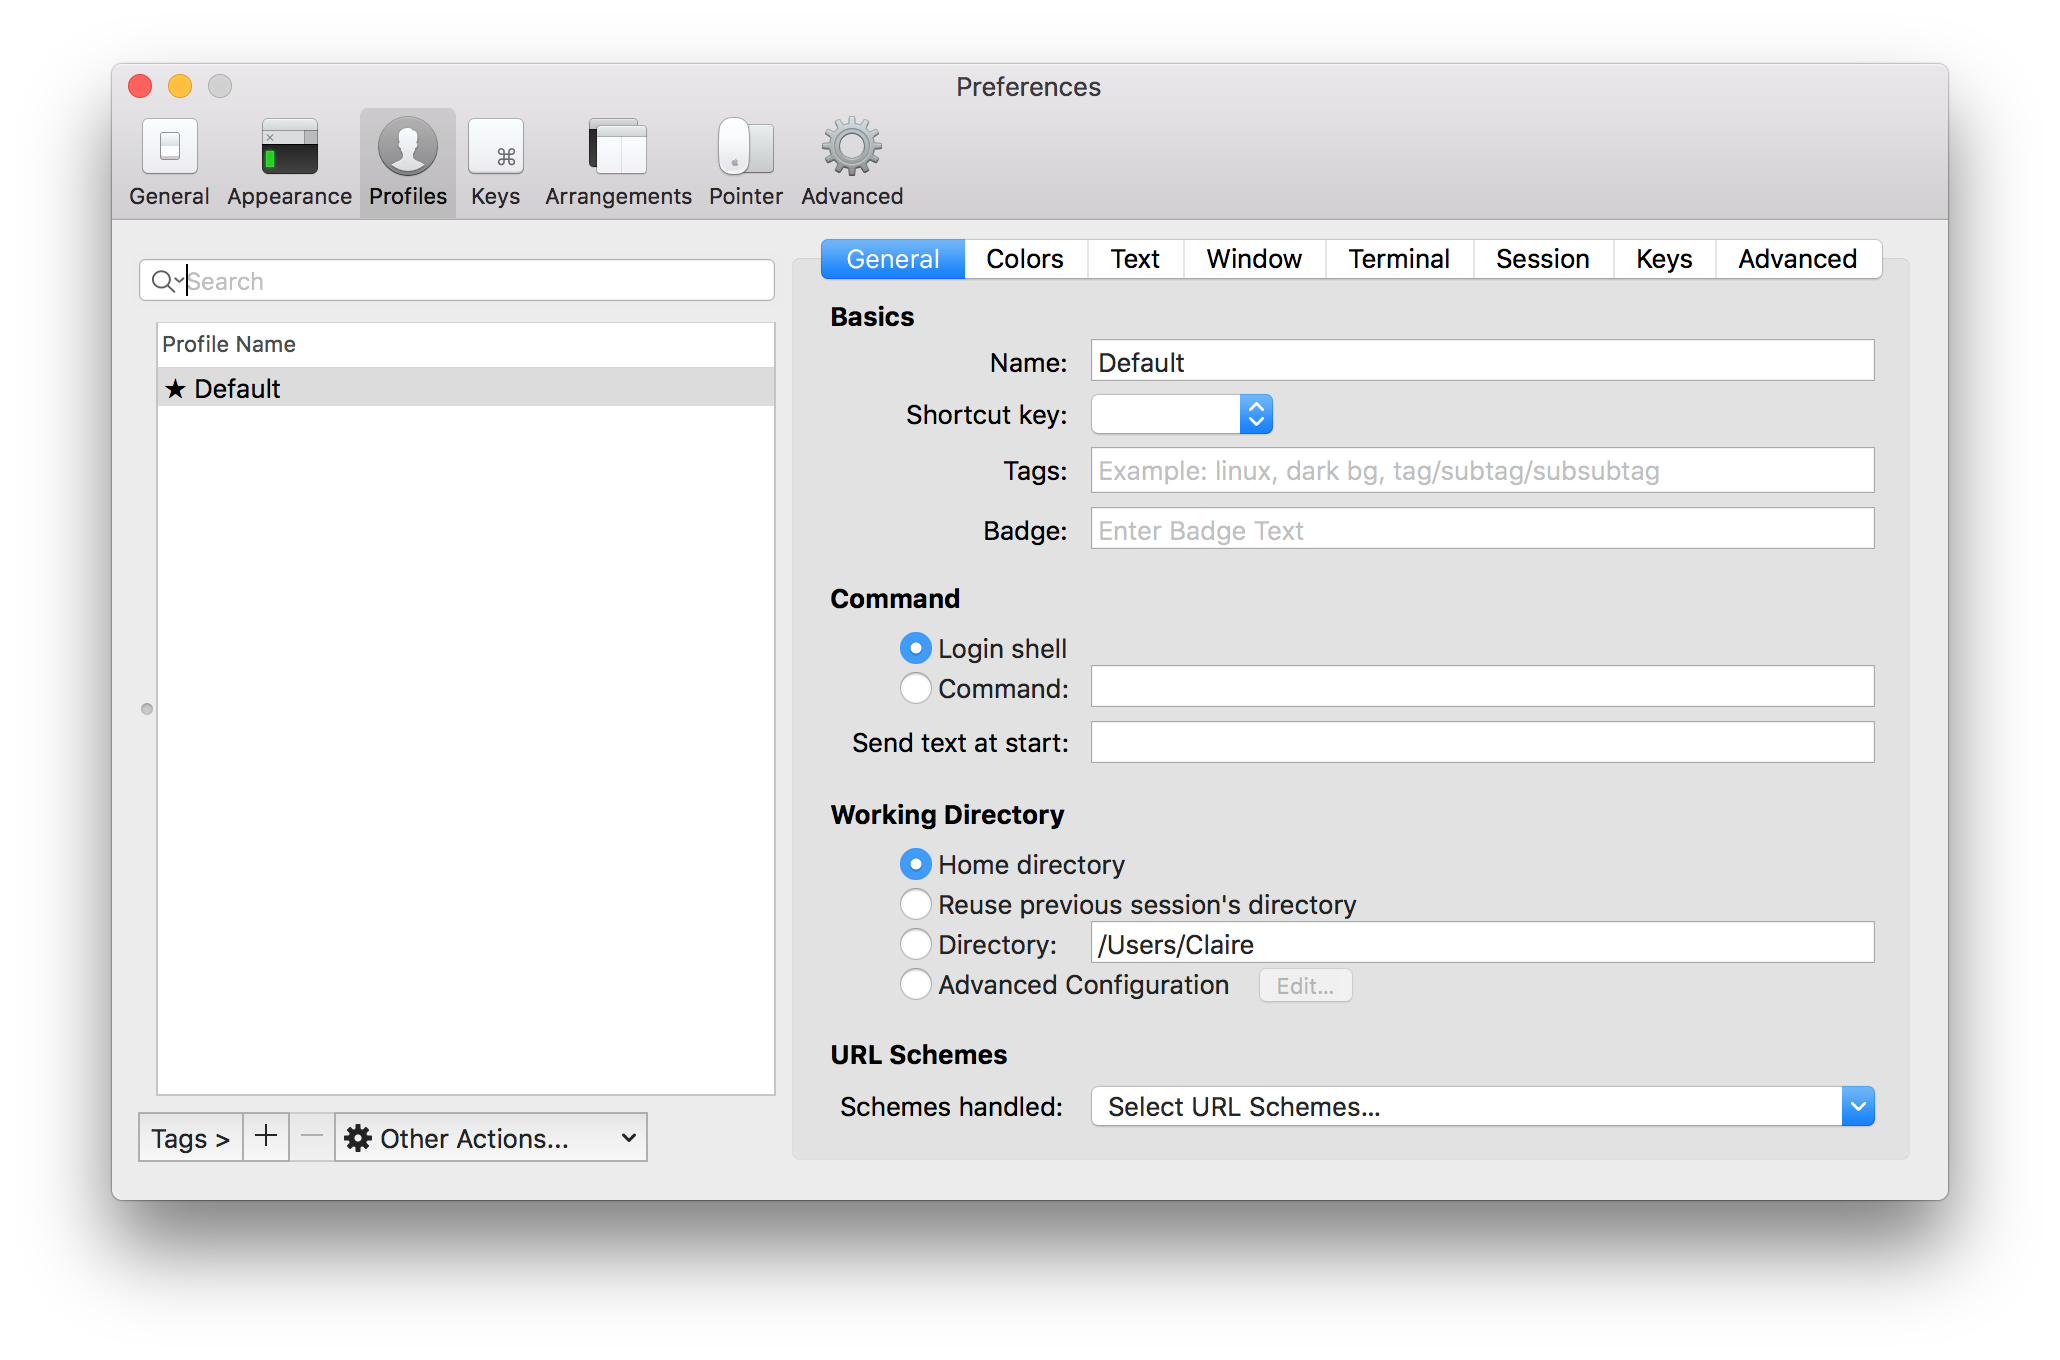
Open the “Preferences” menu: either find it in the “iTerm2” dropdown menu along the top of the screen or press the Cmd and comma keys. ⌘ + ,

Choose the “Profiles” menu.
Select the “Keys” tab.
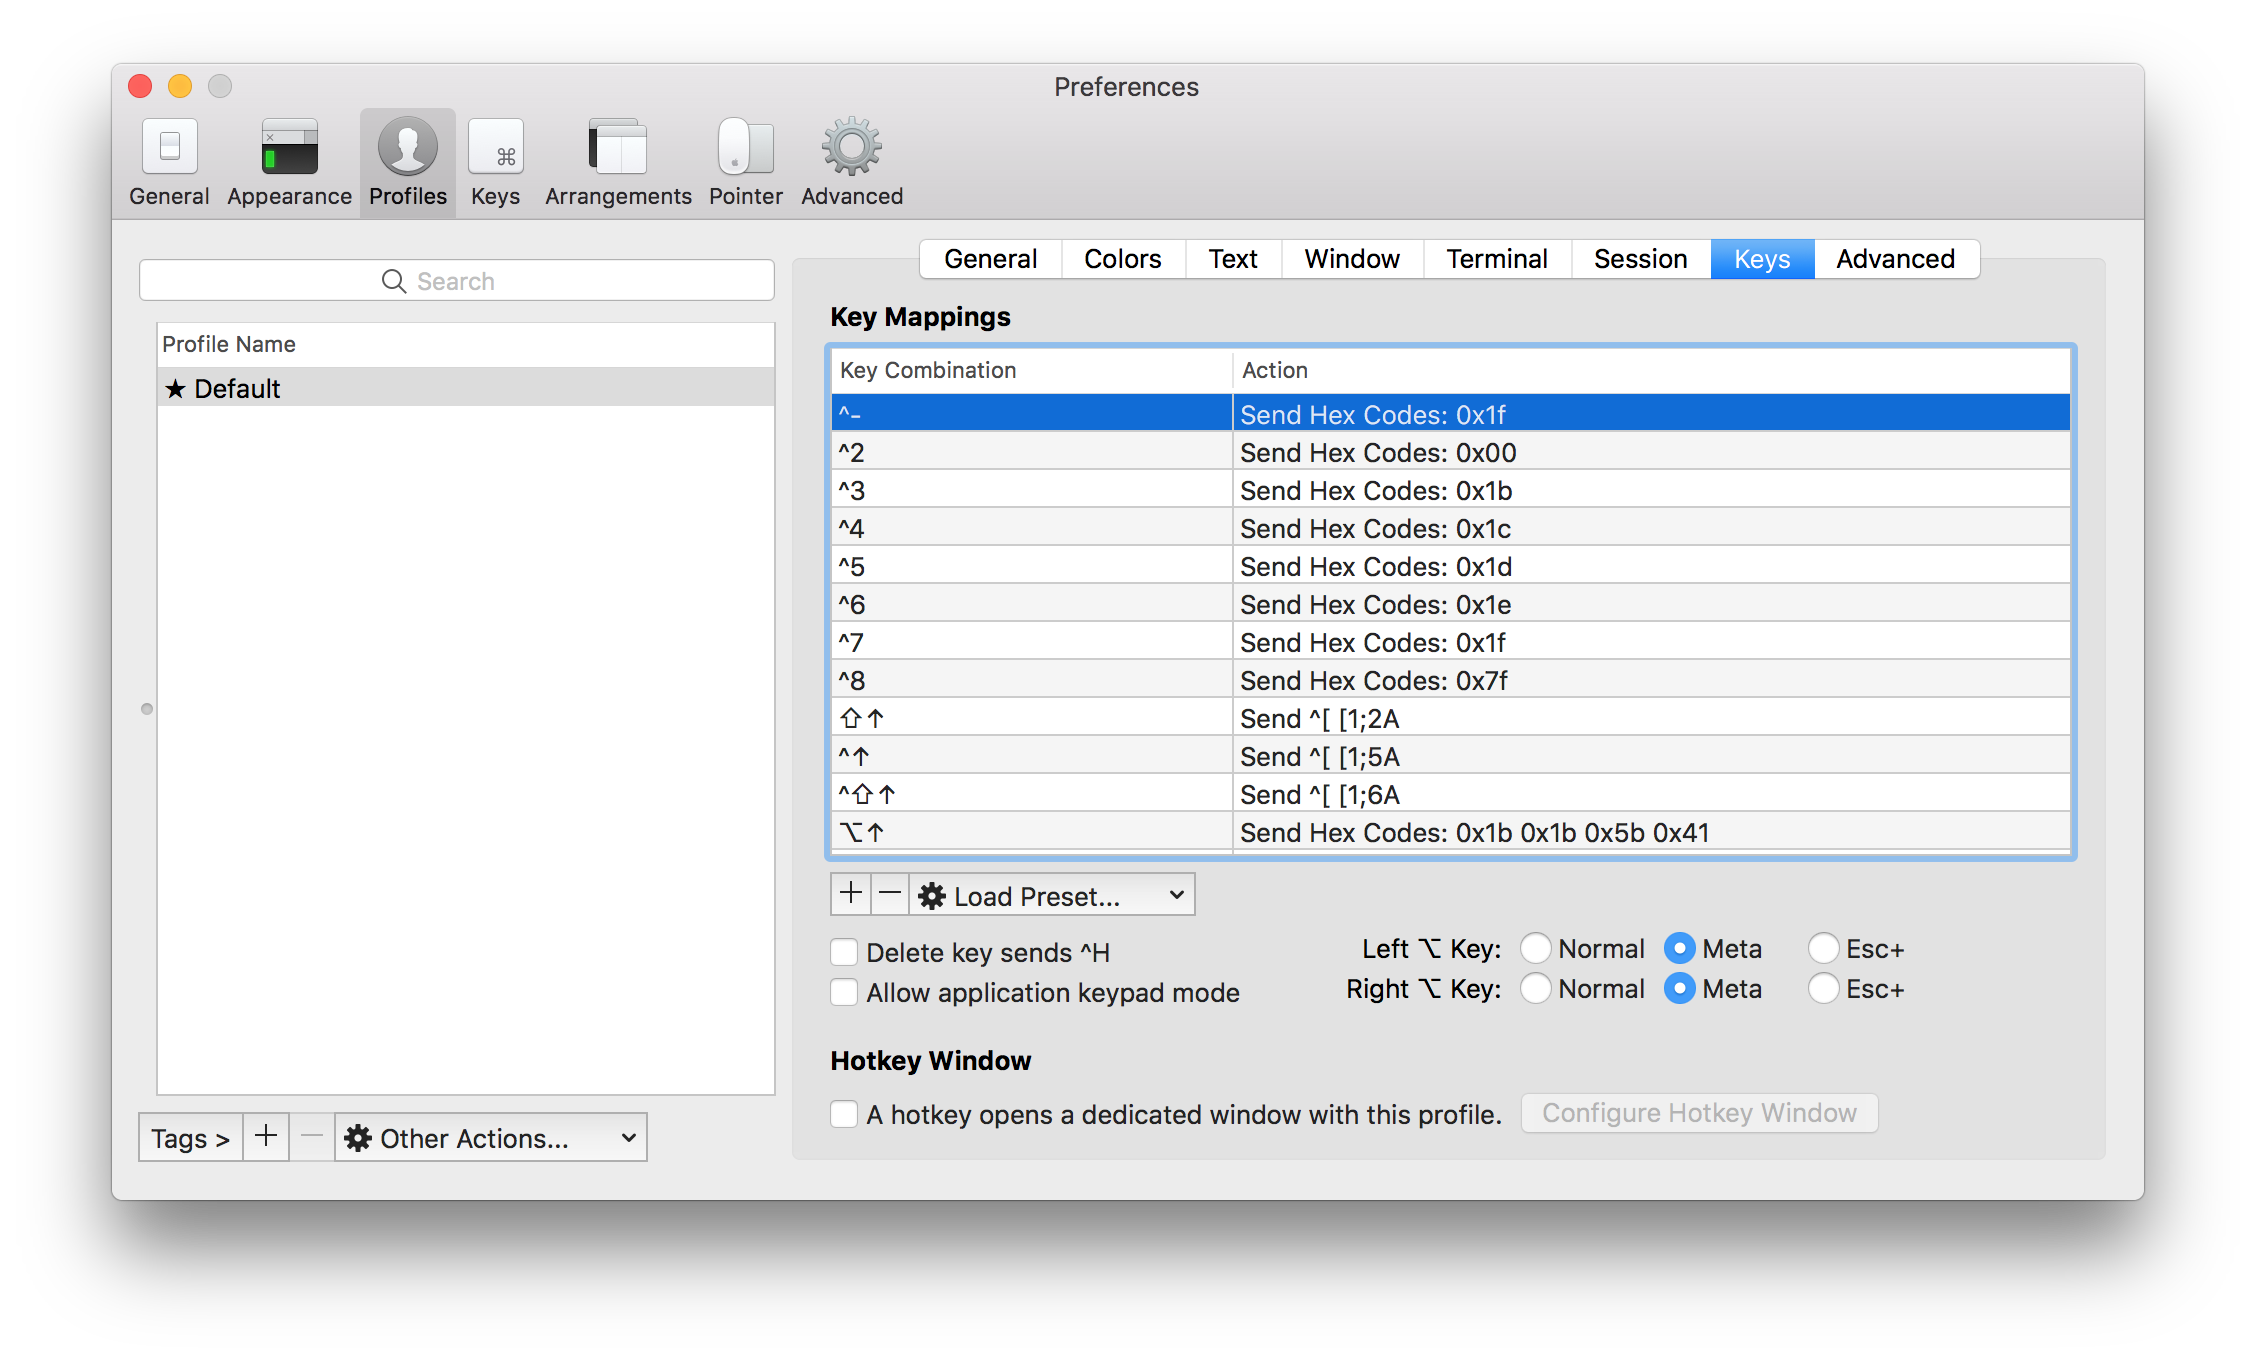
Within the “Key Mappings” pane, find the mapping for the Alt and left keys, which will look like this: ⌥←. Double click it.
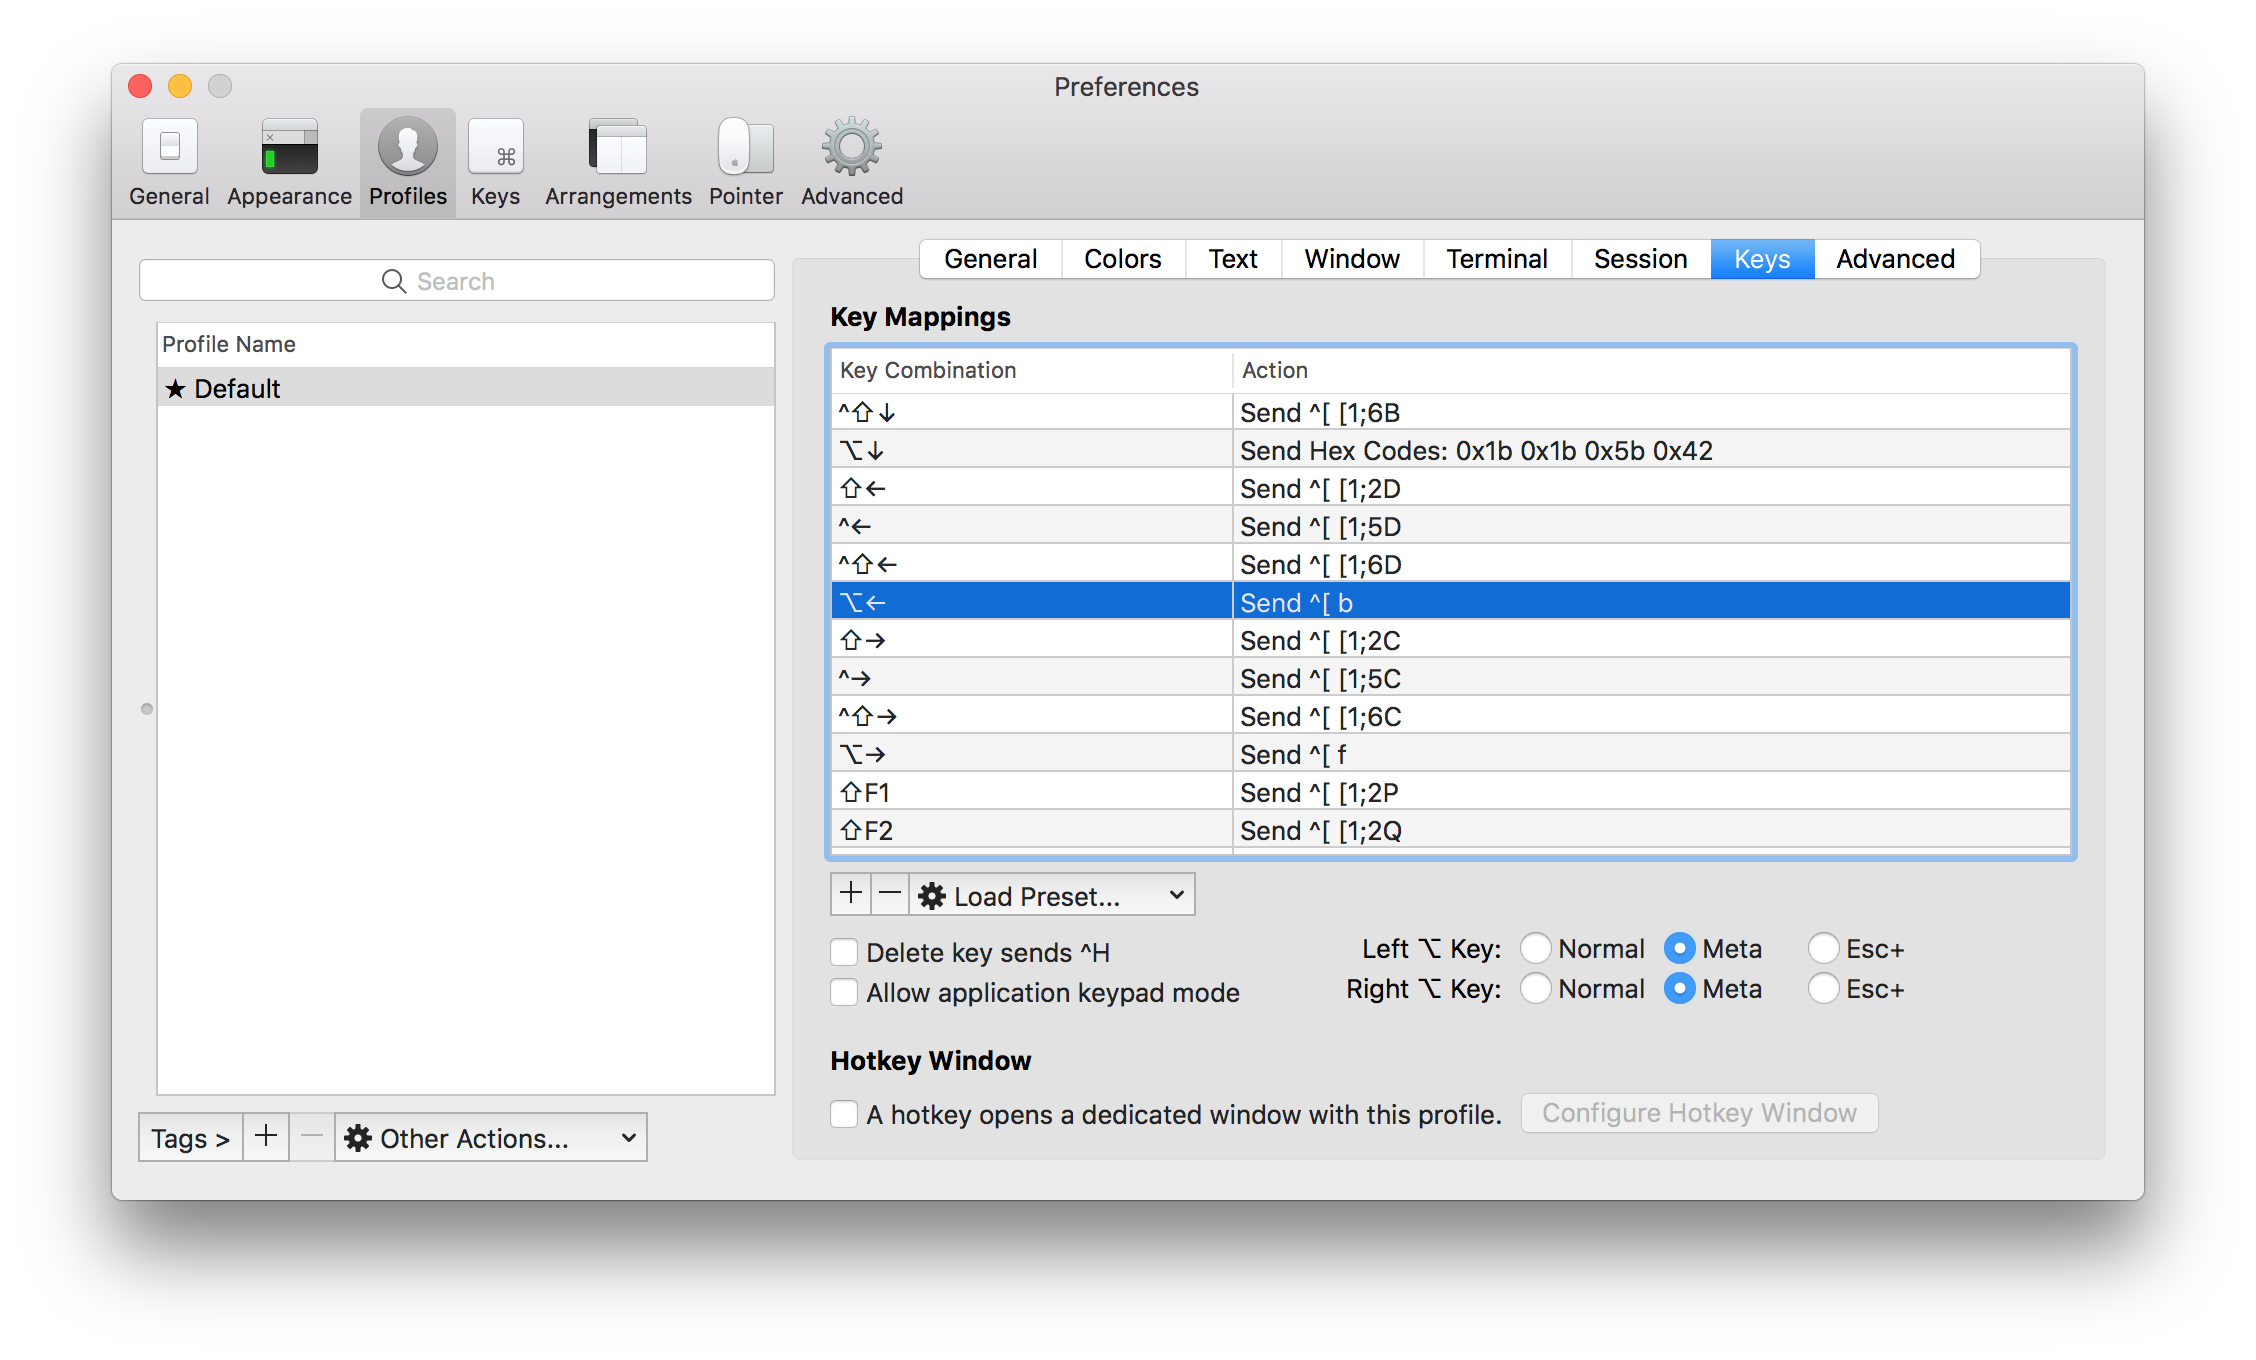
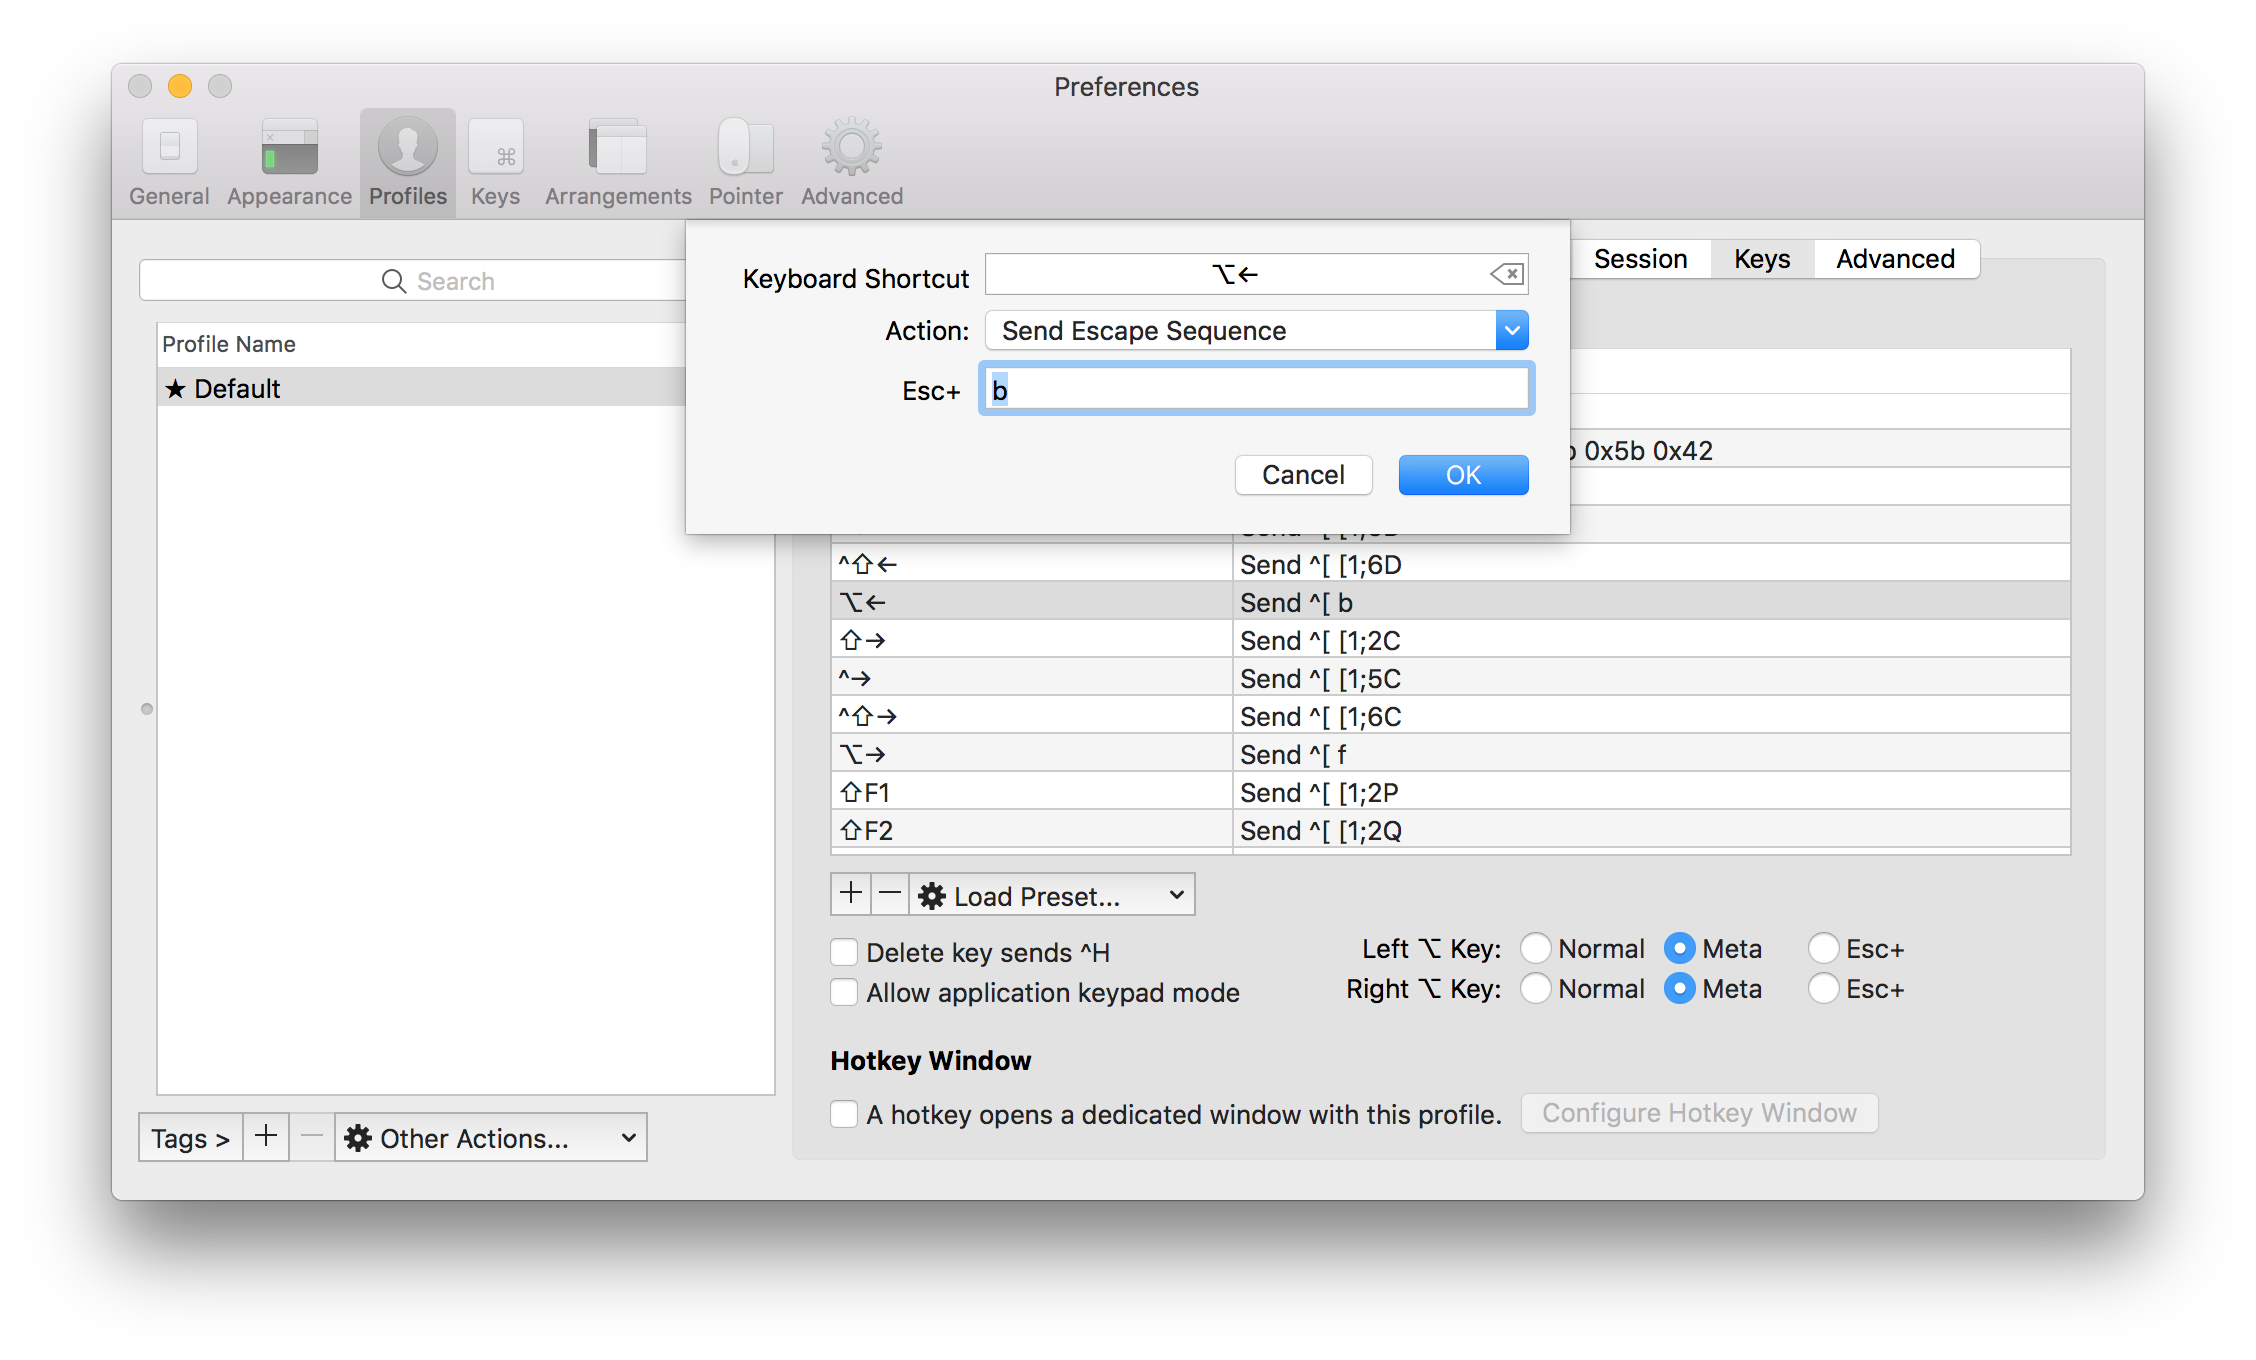
Change the action from “Send Hex Code” to “Send Escape Sequence” (you might have to scroll a bit to find this).
In the “Esc +” field, type lowercase “b” and click “OK”.
Open the same context menu for Alt plus right ⌥→ and again change the action to “Send Escape Sequence”.
This time, in the “Esc +” field, type lowercase “f”. Click “OK”.
Close the menu and begin using the Alt and the left/right arrows immediately. The cursor will now “jump” over entire words as it does on other applications. Your command line navigation will now be faster and more precise.
